
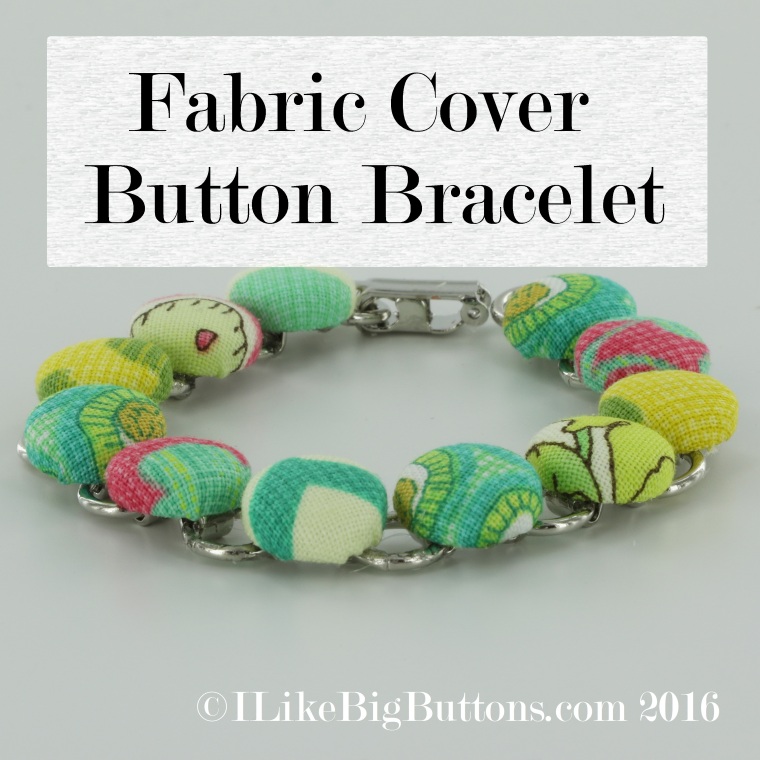
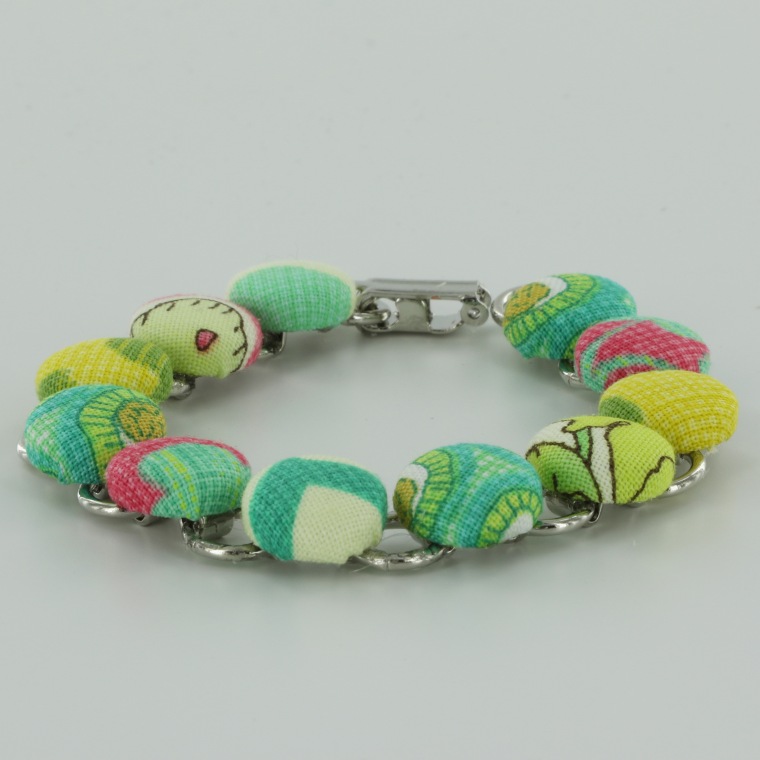
Today I am making a Fabric Cover Button Bracelet. I have been eyeing these for a while. I love the mix of metal and fabric. Mix and match fabrics or go for a solid theme. There are so many possibilities. Layer more than one bracelet to make a statement.
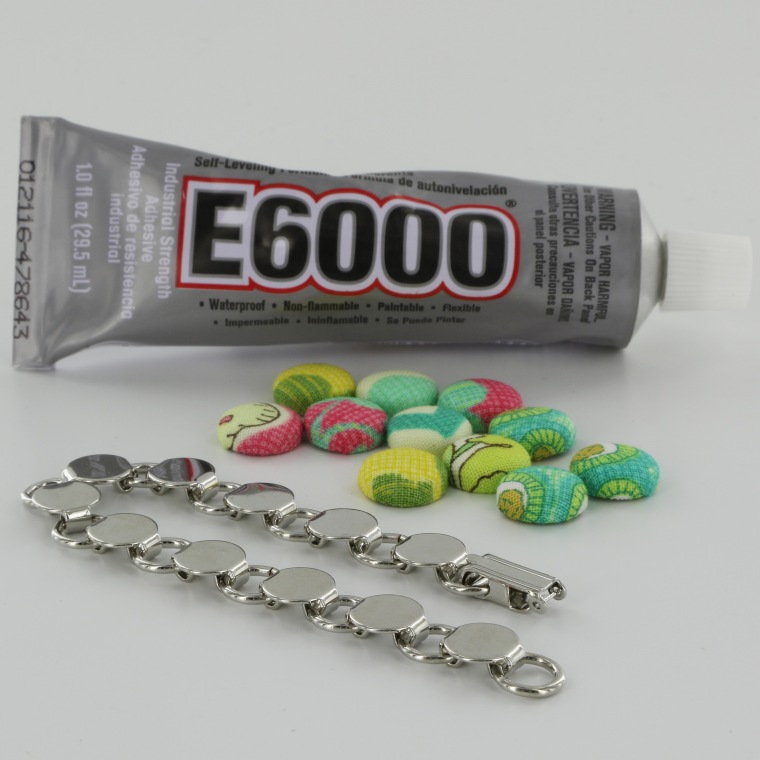
Supplies:
- 11 to 13 – Completed Size 20 Flat Back Fabric Cover Buttons
- 1 Disk and Loop Bracelet (We have two sizes available 7.2″ or 8.25″)
- 11 to 13 – 1/2″ x 1/2″ Felt squares
- E6000 or comparable adhesive
Instructions:
1. Follow these instructions to make Flat Back Fabric Covered Buttons.
2. Lightly scuff the tops of the gluepads so the glue will adhere better (not essential but recommended).
3. Lightly scuff the back of the Cover Button so the glue will adhere better (not essential but recommended).
4. Clean both surfaces of dust.
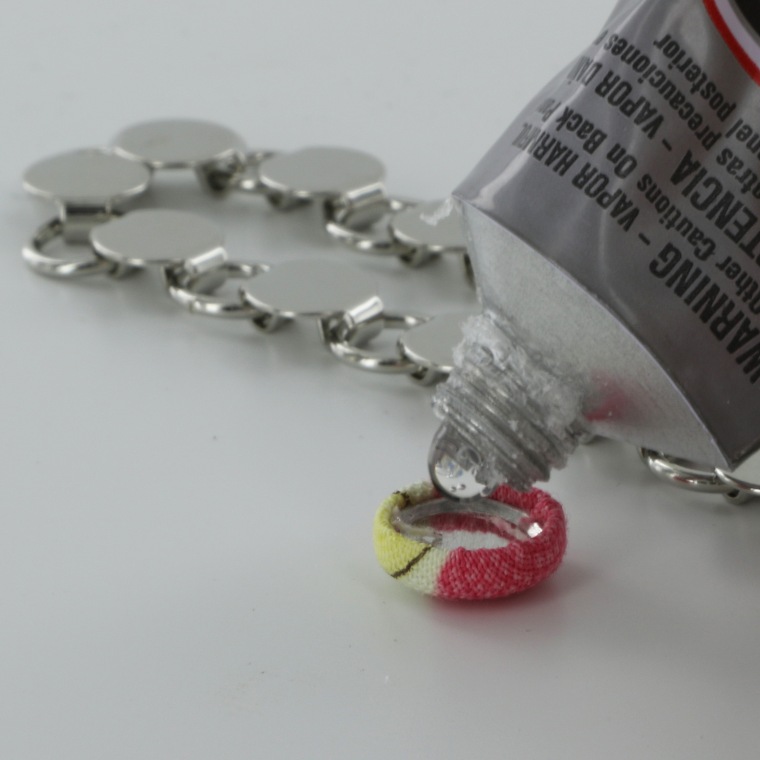
5. Apply E6000 to back of Cover Button.
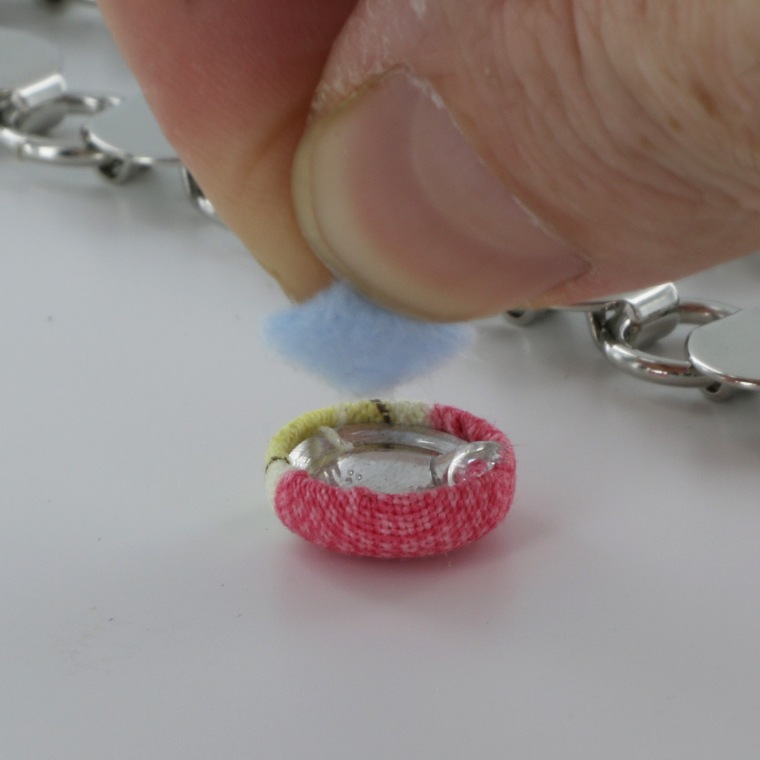
6. Press Felt square into E6000 firmly. This is to fill the gap between the back and the surface of the disk (gluepad).
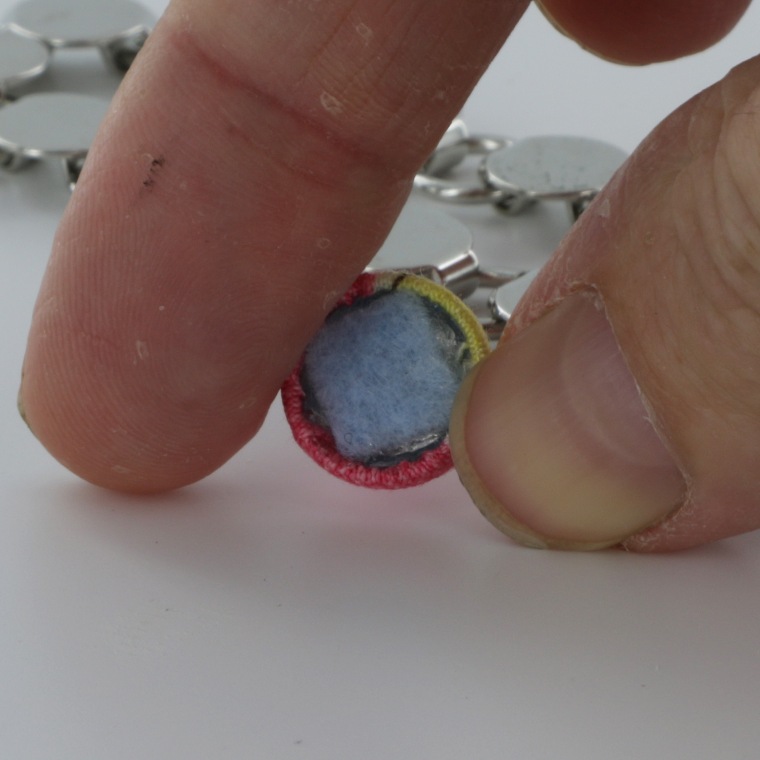

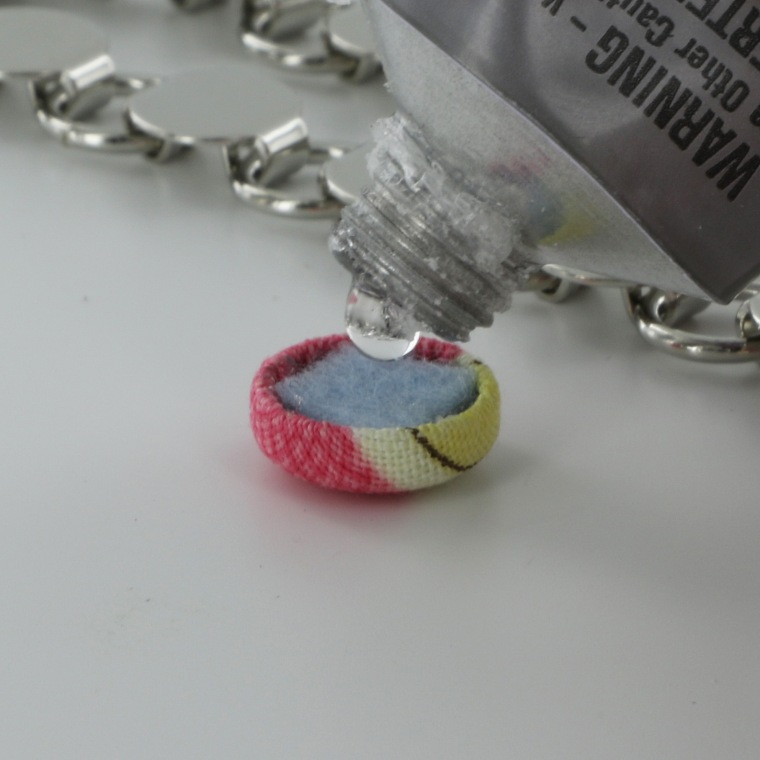
7. Apply another dab of E6000 to the Felt square.
8. Press the Size 20 Cover Button firmly onto the disk (gluepad) and center it.
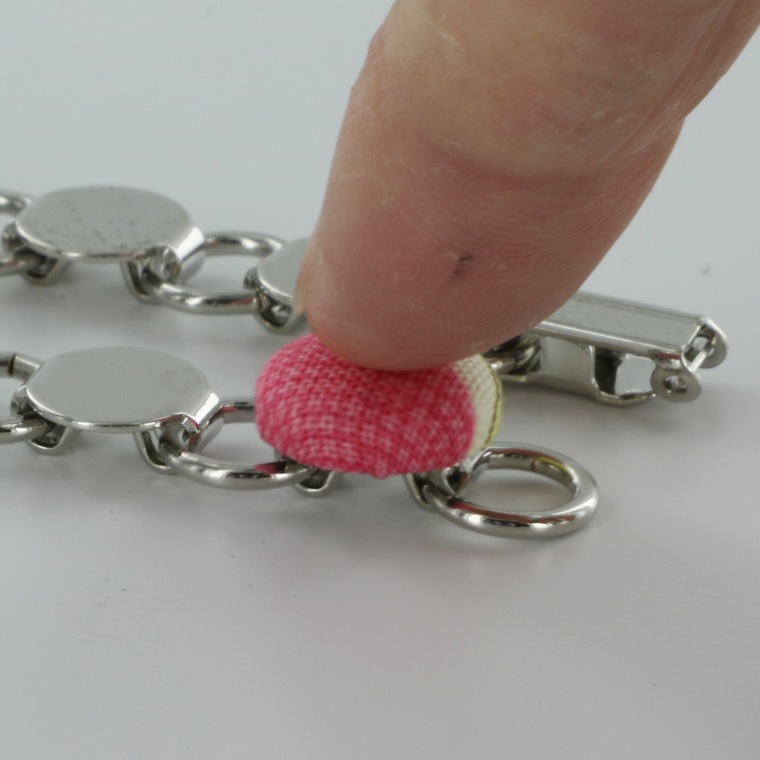
9. Repeat 10 more times.
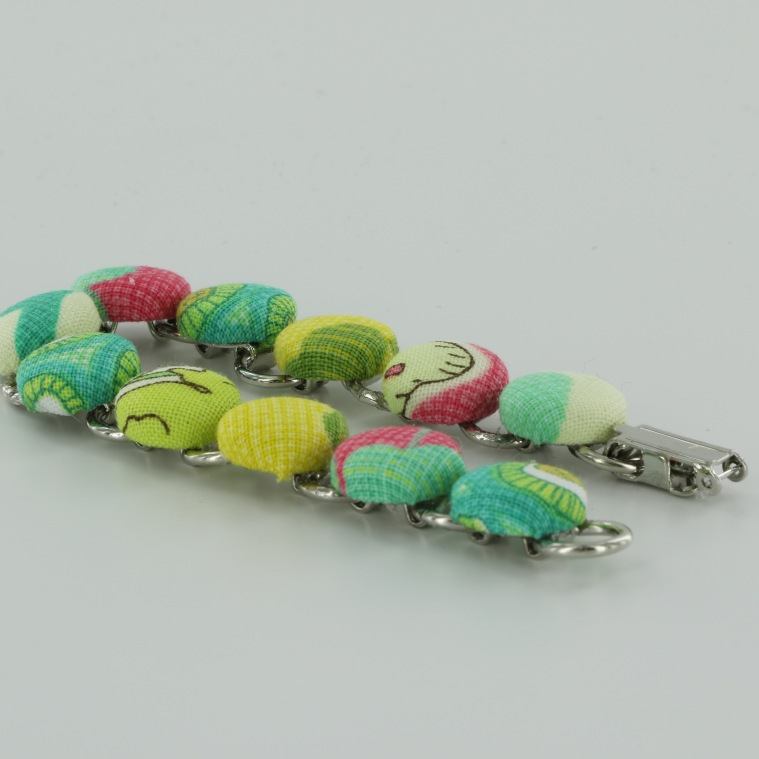
10. Let dry and enjoy!
11. Tada!
You are done! Make this bracelet to accent your favorite outfit or to make a statement. Enjoy!
To see our other great Cover Button Tutorials here.
© ILikeBigButtons.com and I Like Big Buttons Blog, 2016.

That is really cool!