
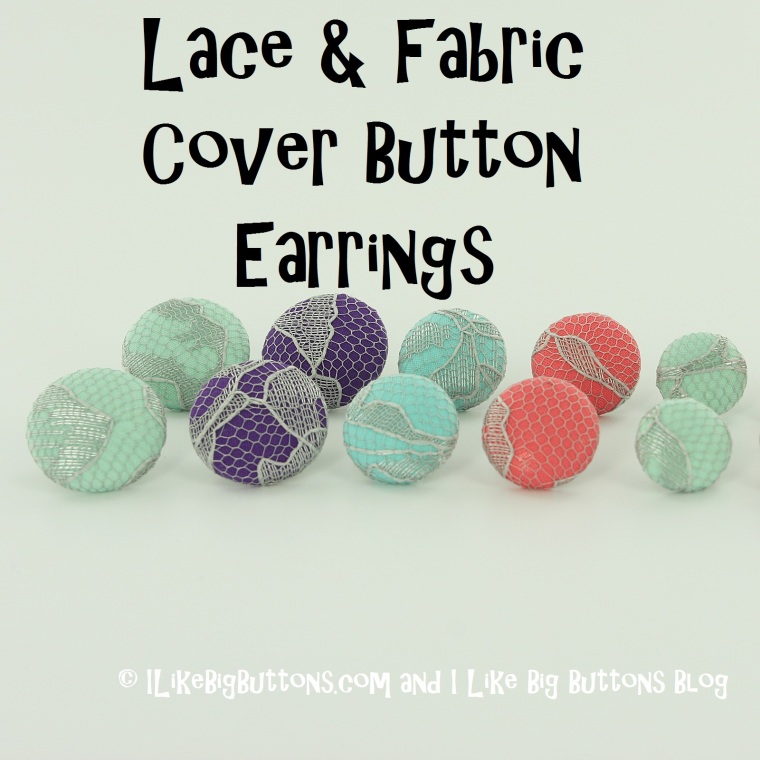
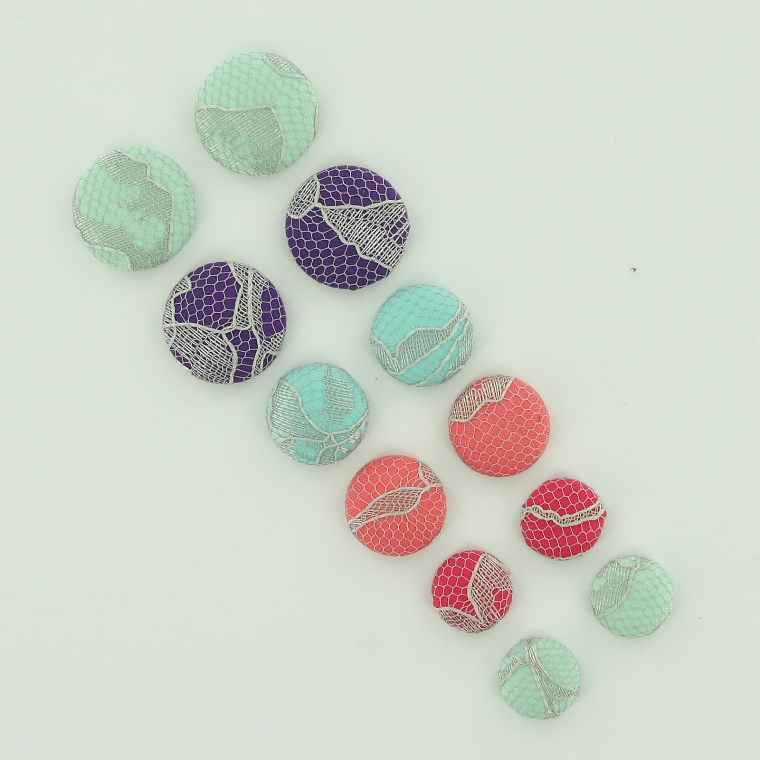
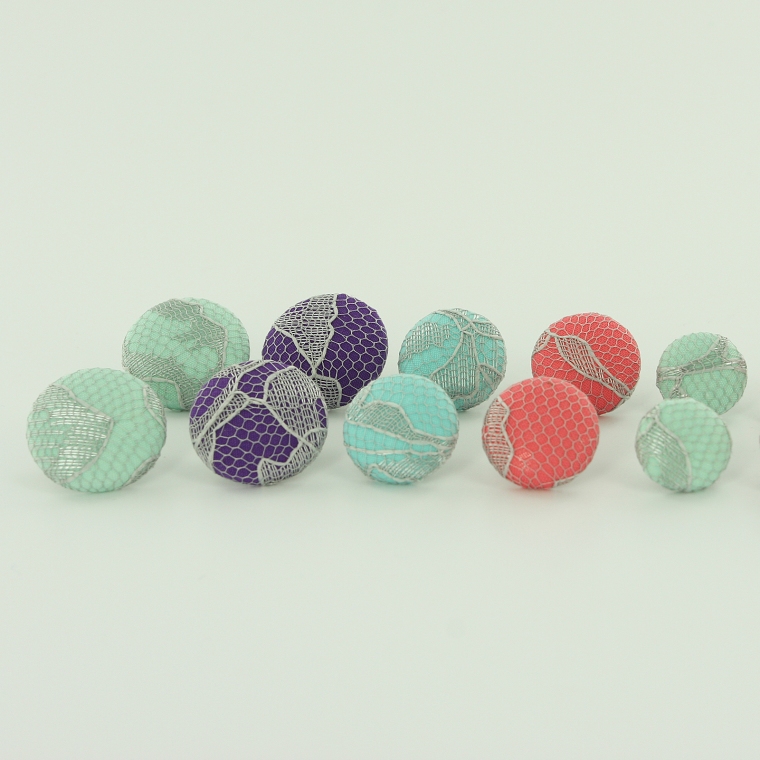
Today, I am working on some cute Lacy Earrings using Fabric Cover Buttons*. I made these as gifts for some of my trendy cousins for Christmas and they loved them. Check them out!
*Just a reminder we have 10%OFF on our website today using Coupon Code: PATREV
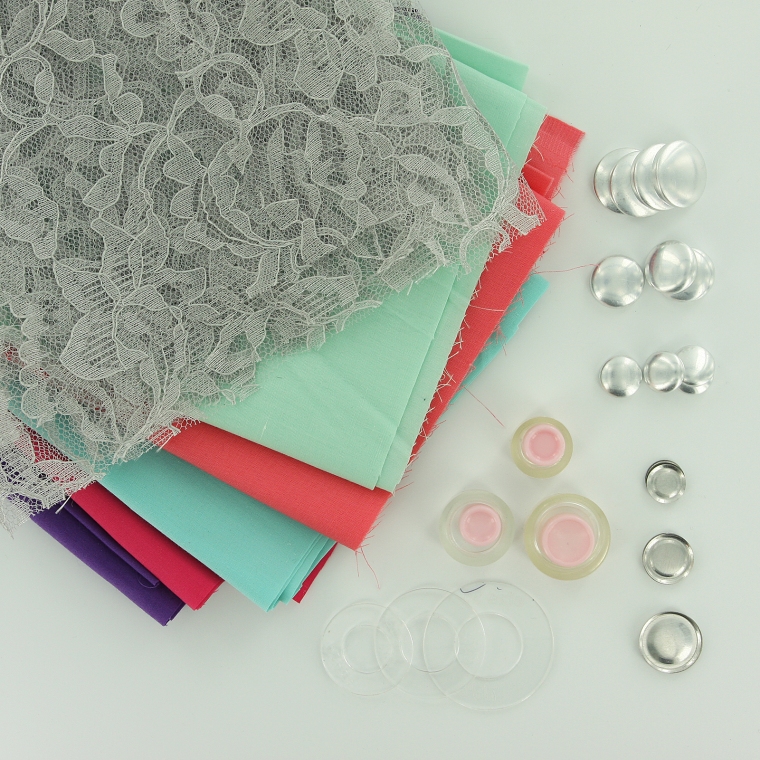
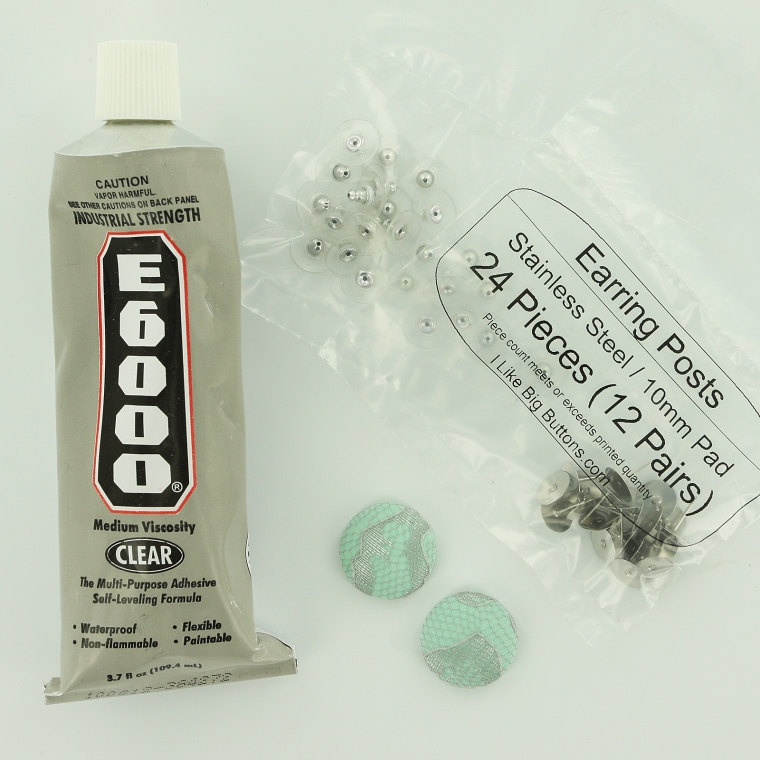
Supplies:
- Flat Back Cover Buttons (I used Size 24, Size 30, and Size 36 Cover Buttons)
- Cover Button Assembly Tools
- Cover Button Templates
- Fabric Scraps
- Lace Scraps
- E6000 Adhesive or Hot Glue
- Sharpie Permanent Marker
- Surgical Stainless Steel Earring Posts and Backs

Instructions:
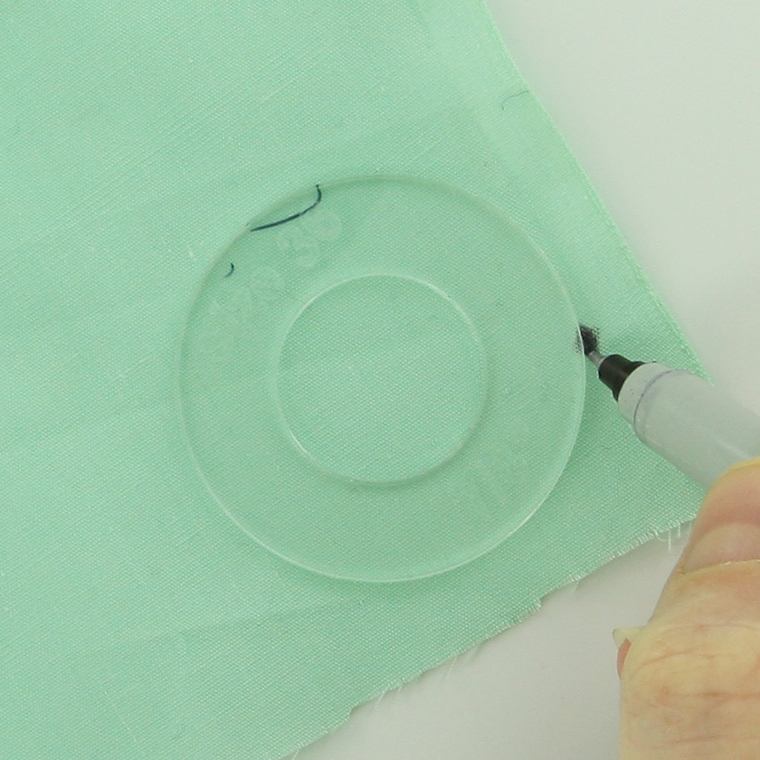
1. Cut your fabric scrap. You will want a circle that is about twice the diameter of your button blank or use one of our handy Plastic Cover Button Templates.
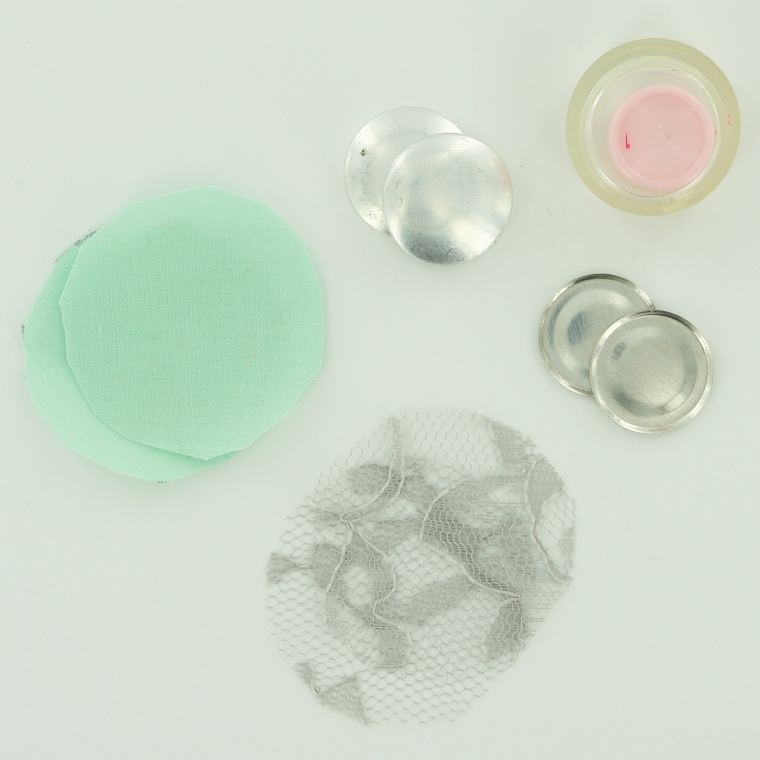
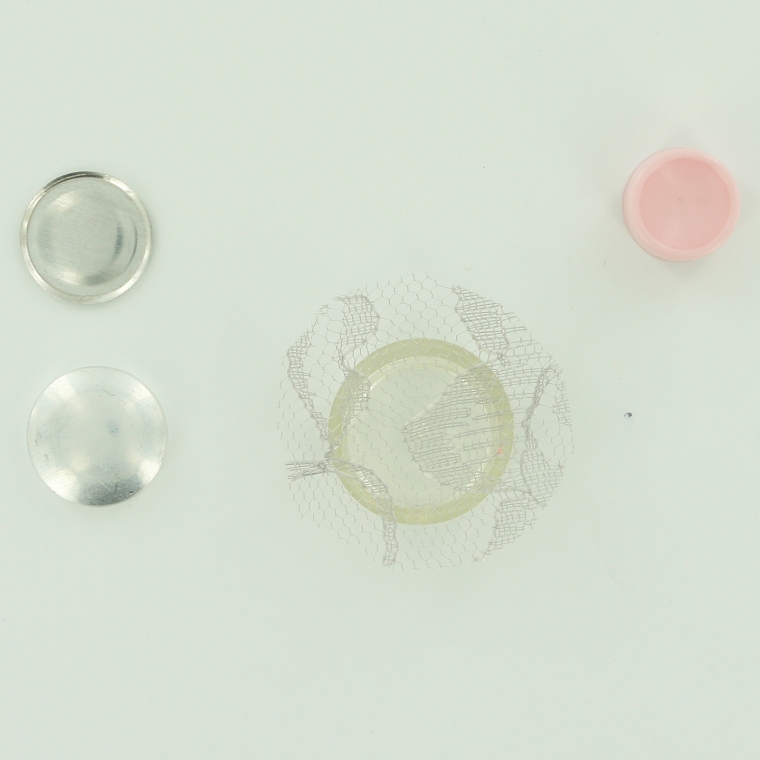
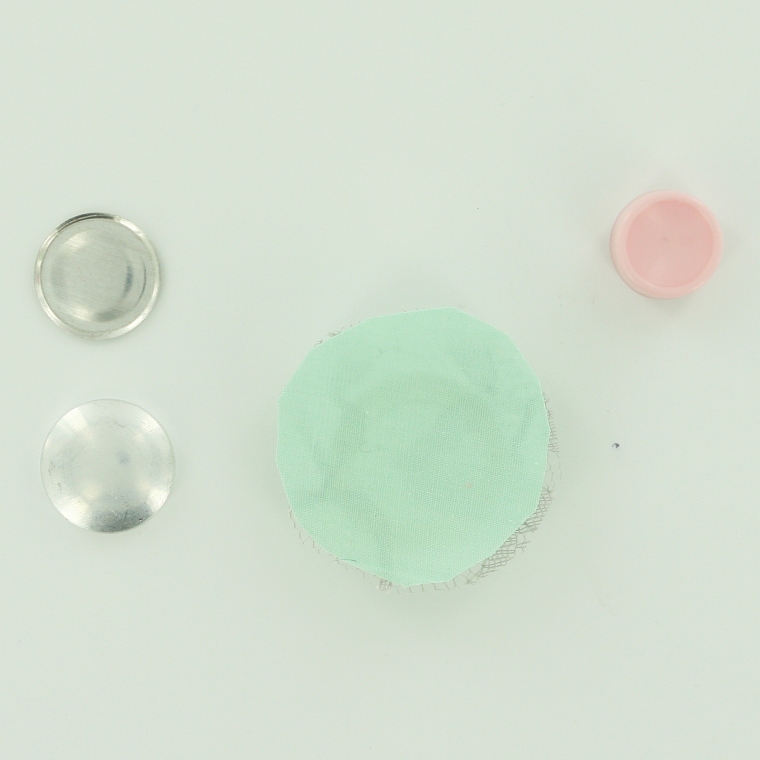
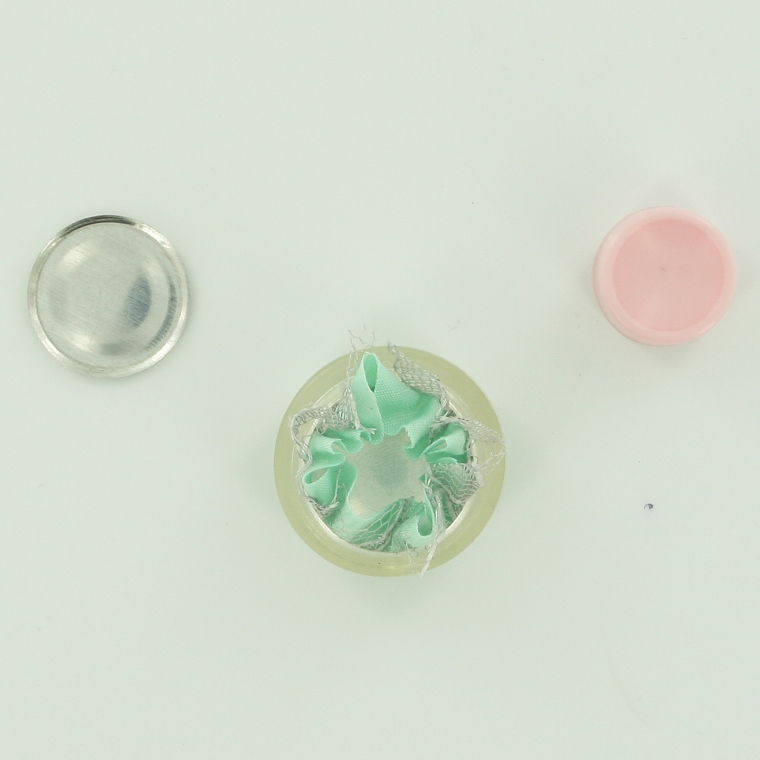
2. Put your lace piece in the larger assembly tool piece (RIGHT SIDE DOWN). Then, put your fabric piece in the larger assembly tool piece (RIGHT SIDE DOWN). When you look into the tool you want to see the back of the fabric.
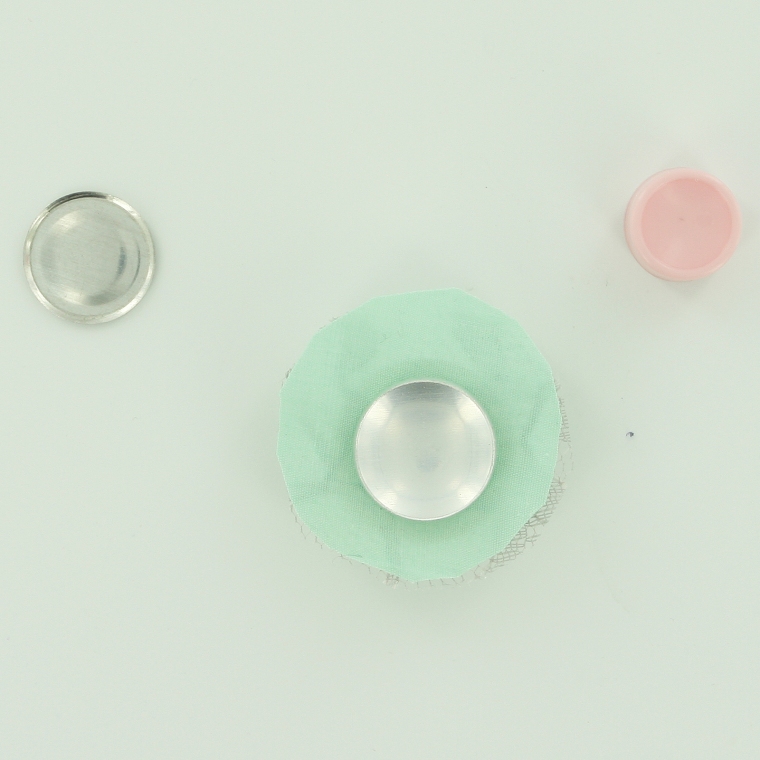
3. Place the button front (the domed piece) on top of the fabric. Leave the fabric edges hanging out.
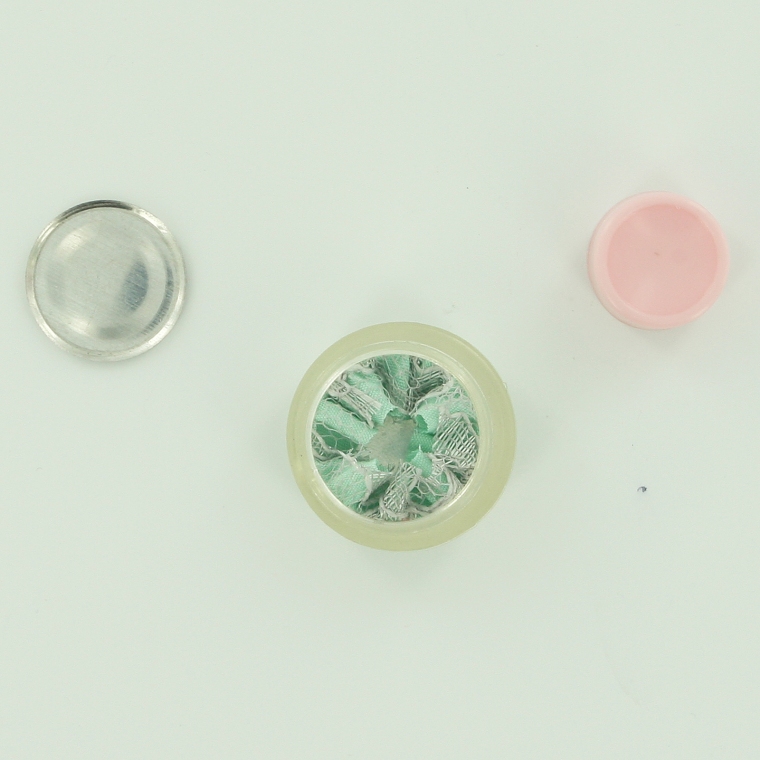
4. Press the Cover Button edges down into the tool.
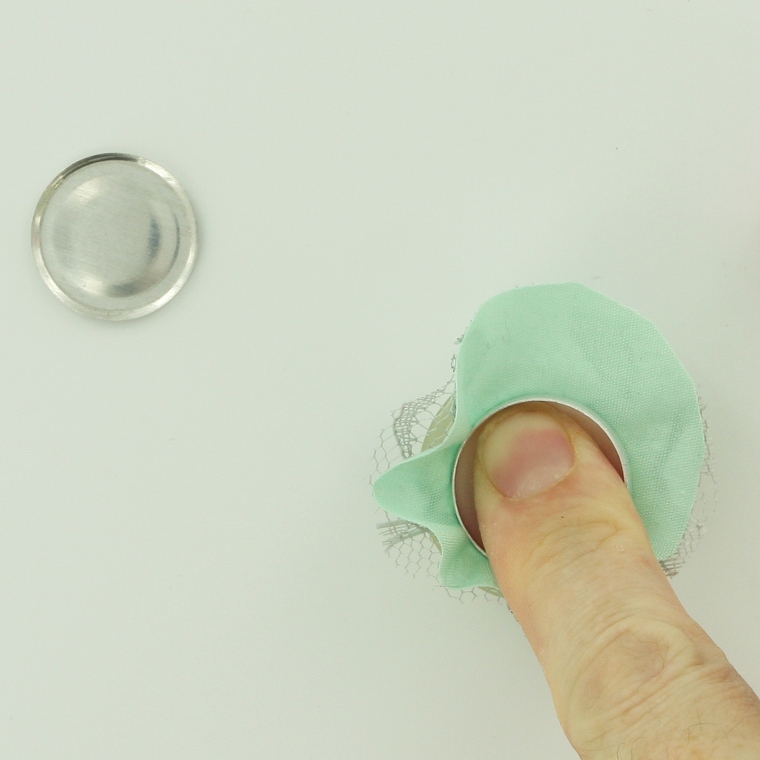
5. Place the back cover button piece on top of your fabric and button front. If the cover button will be subject to repeated tugging from the back, you may want to add a little e6000 adhesive before attaching the back.
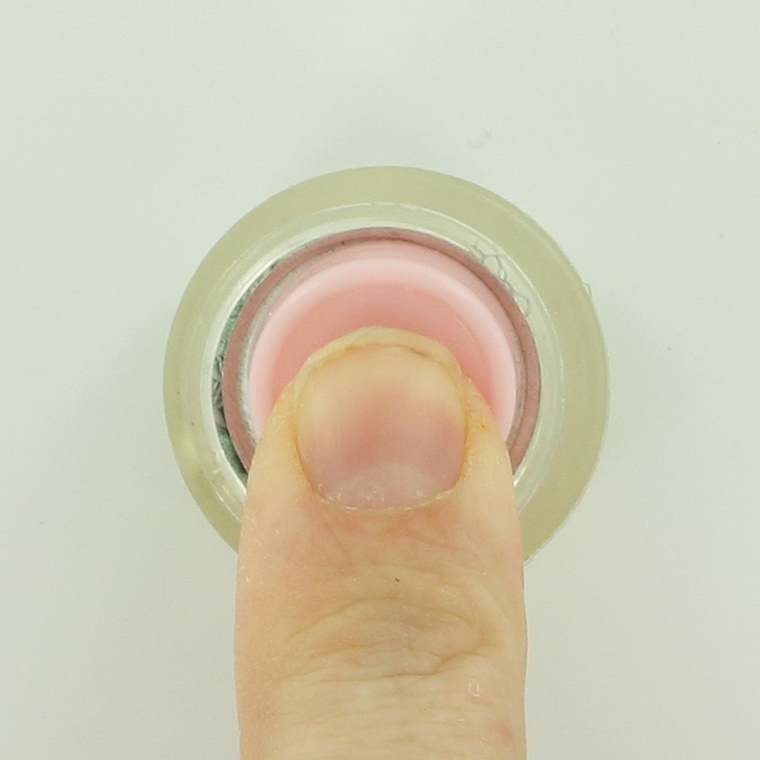
6. Take the smaller piece of the assembly tool and with the open side down place it on the button back.
7. Press down. You may hear a pop when the last bit of the button back slips into place. If you take the tool out and the button is not completely secured, just put it back in and press down again.
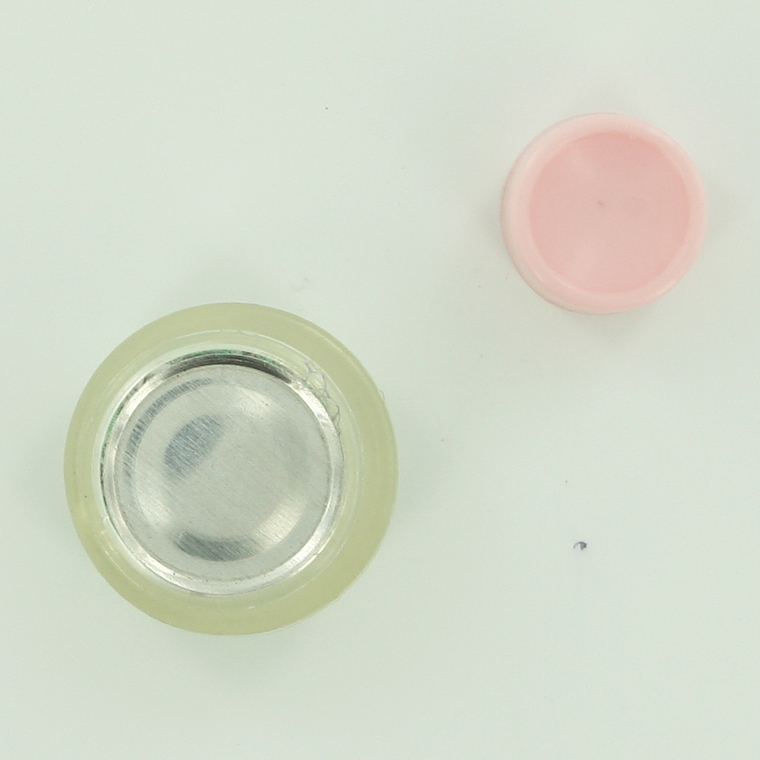
8. When you take the small assembly tool piece off, the fabric edges will be secured underneath the button back.
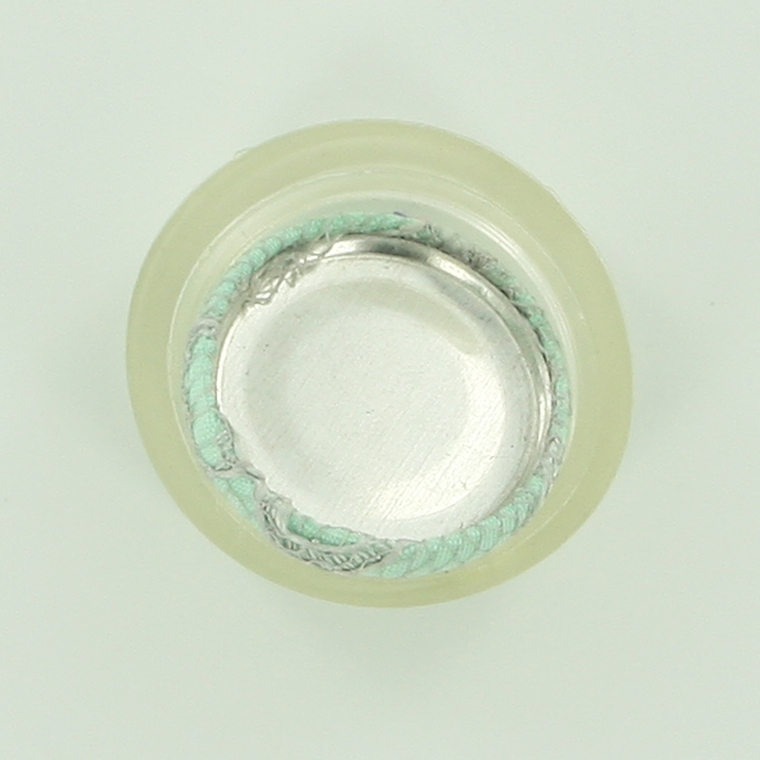
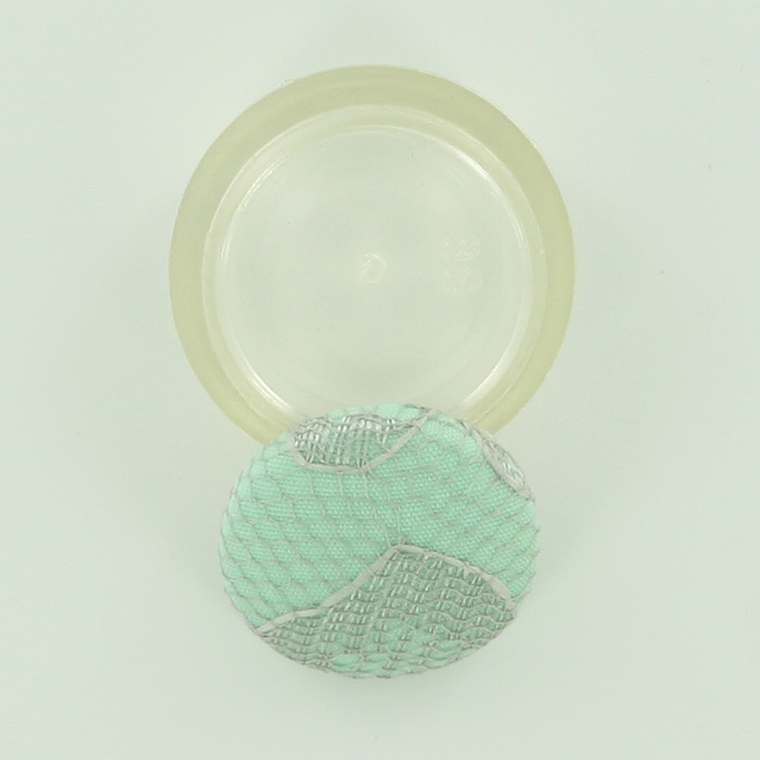
9. Remove the button from the larger assembly tool piece.
10. Tada! First step complete.
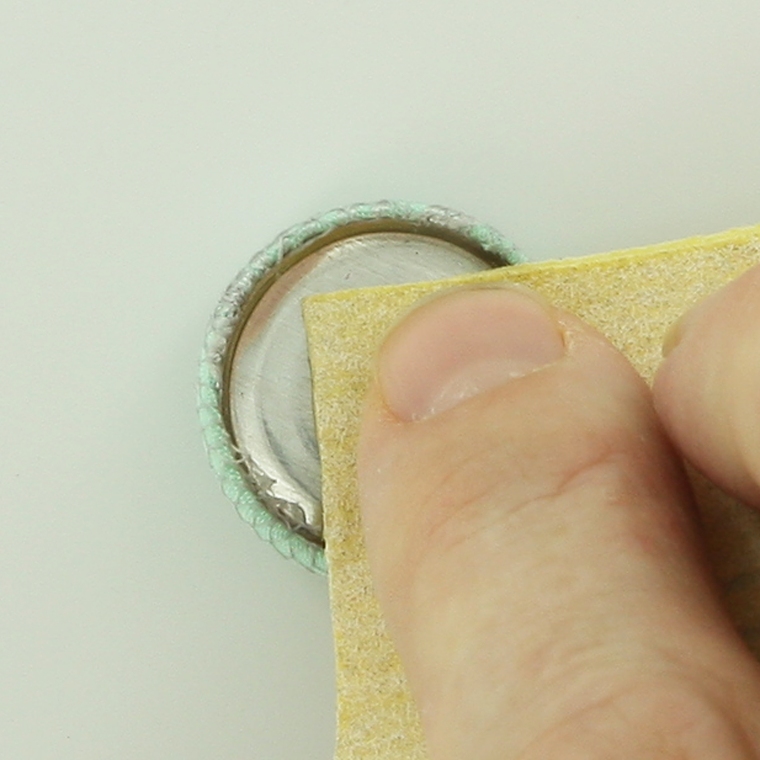
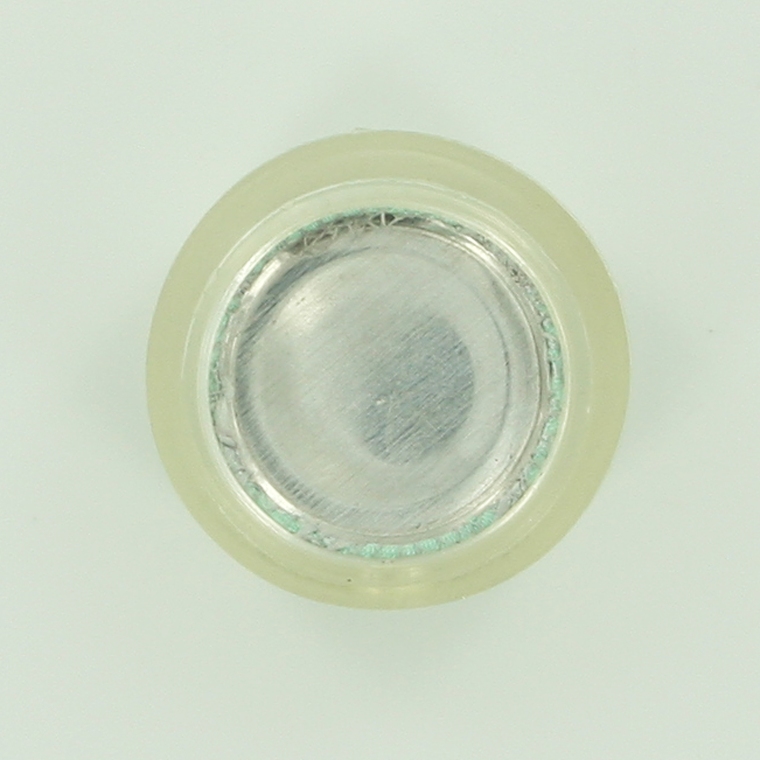
11. Lightly scuff the back of the Cover Button so the glue will adhere better (not essential but recommended).
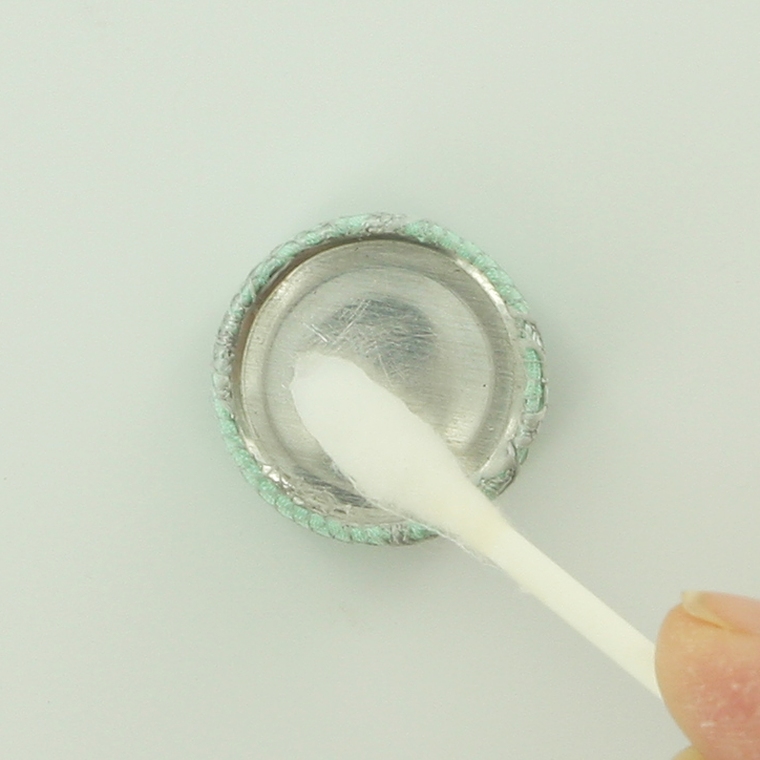
12. Clean both surfaces of dust. I used rubbing alcohol and a cotton swab.
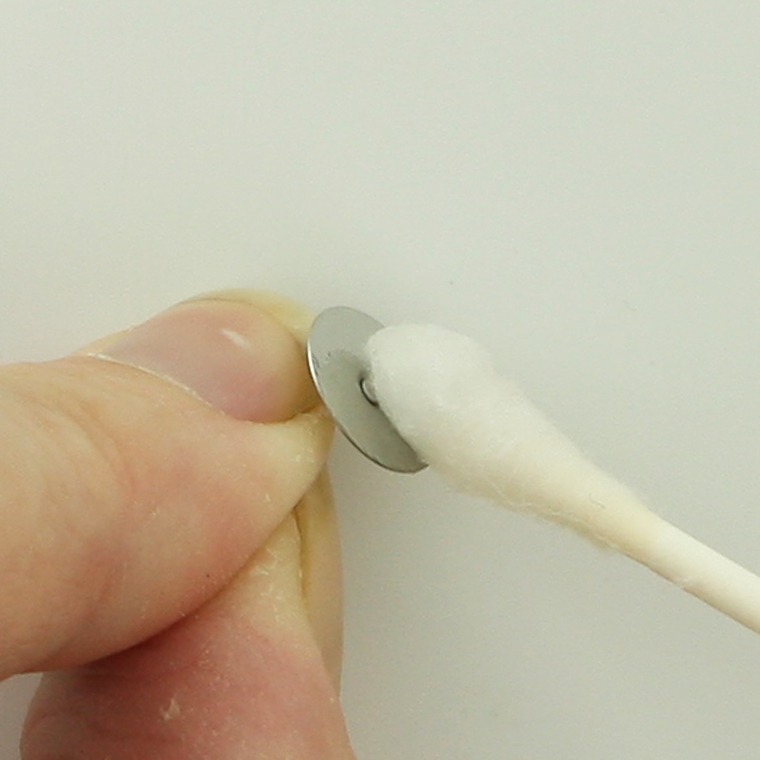
13. Apply e6000 to back of Cover Button or Earring Post.
14. Press Earring Post into place and remove any extra Adhesive. On smaller sized Cover Buttons center the post, as they increase in size adjust post towards top.
15. Let dry, add Earring Backing/Nut, and enjoy.
16. Tada! You could also make the Cover Button Clip Ons Earrings and these are great a gifts or as products for your shop.
© ILikeBigButtons.com and I Like Big Buttons Blog, 2015.
